Mastering AI image generation prompt engineering techniques isn’t about memorizing magic words. It’s about understanding how models actually interpret language and turn text into pixels. And honestly? The difference between a mediocre output and a genuinely stunning one almost always comes down to how you structure your prompt — not which tool you’re using.
Most guides just hand you a list of cool prompts to copy-paste. This one teaches you the underlying craft. You’ll learn frameworks, strategies, and model-specific tricks that work across every use case — from product photography to concept art.
Core Principles of AI Image Generation Prompt Engineering Techniques 2026
Iterative Refinement and Token Weighting Strategies
Model-Specific Strategies for Major Platforms
Frameworks for Different Creative Use Cases
Emerging Techniques: Prompt Chaining, Conditional Generation, and Beyond
Core Principles of AI Image Generation Prompt Engineering Techniques 2026
Before jumping into the advanced stuff, you need solid fundamentals. I’ve seen beginners skip this and spend weeks frustrated. Don’t do that.
Every effective prompt contains a few key building blocks. Understanding those blocks transforms your results almost immediately.
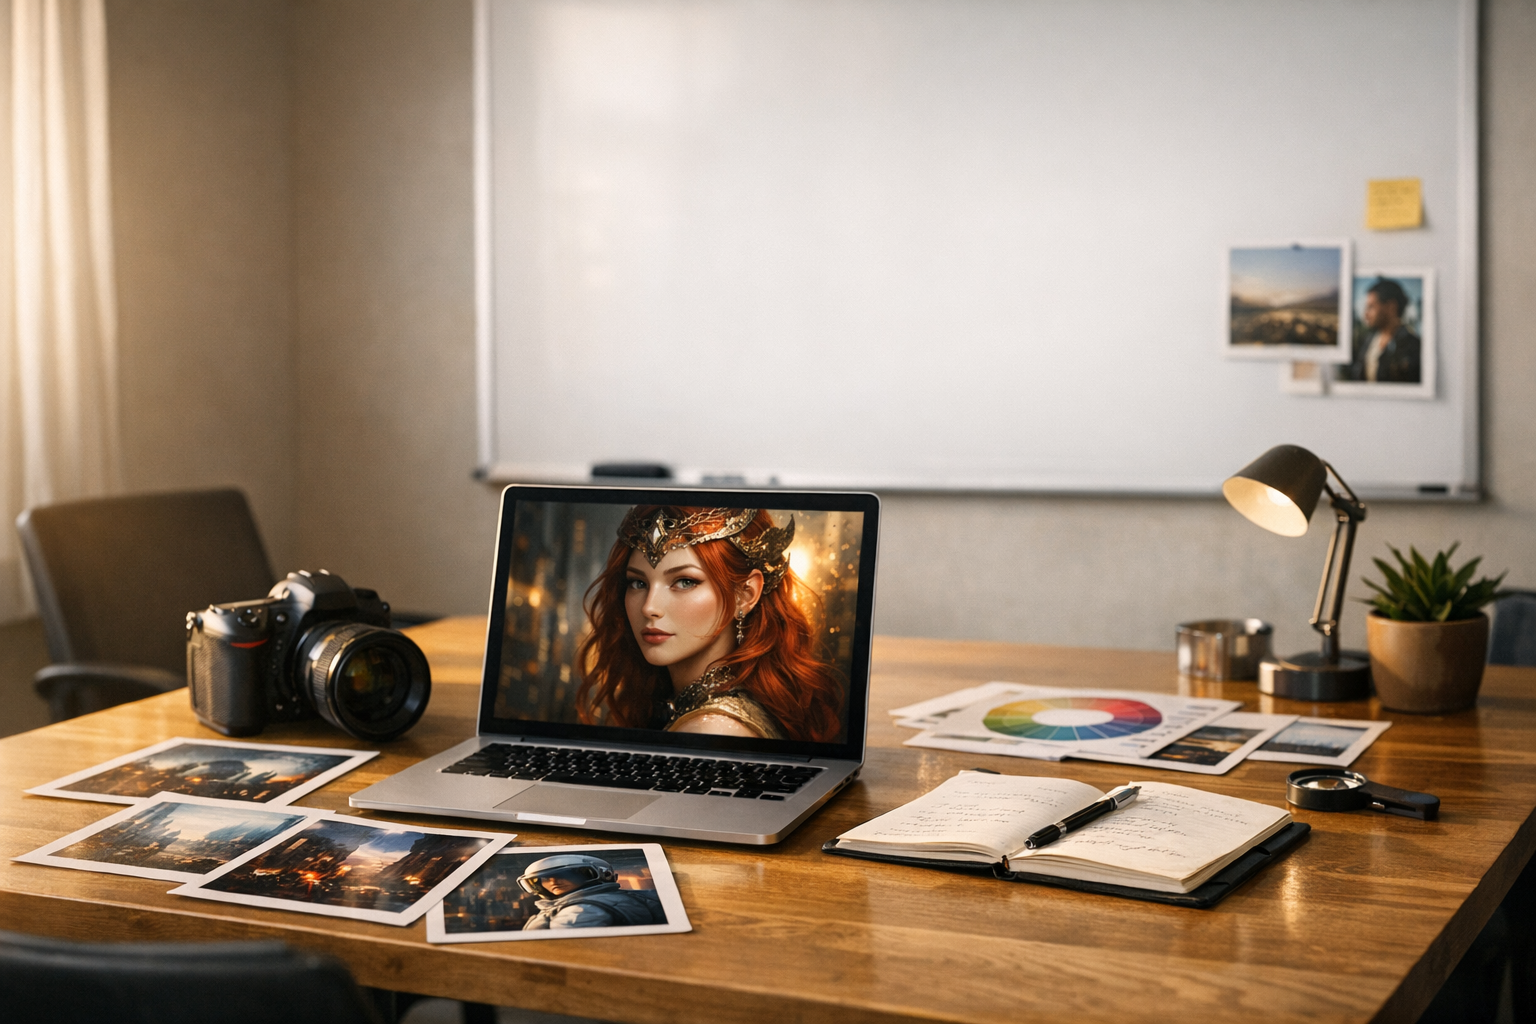
Subject clarity comes first. Be specific about what you actually want. “A dog” produces something generic. “A golden retriever puppy sitting in autumn leaves, soft afternoon light” produces something you’d actually use. Take it one step further: “A golden retriever puppy sitting in a pile of amber and crimson autumn leaves, ears slightly raised, soft late-afternoon backlight creating a warm halo effect” — now you have an image worth keeping.
Style definition shapes the entire mood of the output. Specifically, name artistic styles, time periods, or visual references. Words like “cinematic,” “watercolor,” “brutalist,” or “Studio Ghibli” dramatically shift what you get — this surprised me when I first started testing how far a single style word could push results. Swapping “cinematic” for “editorial” on the exact same subject description can move the output from moody blockbuster still to clean magazine spread. Both are useful; neither is wrong. Know which one you actually need before you start.
Technical parameters control the finer details. These include:
- Camera angle: bird’s eye, low angle, Dutch tilt, extreme close-up
- Lighting: Rembrandt lighting, golden hour, neon rim light, overcast diffusion
- Color palette: muted earth tones, high contrast, monochromatic blue
- Composition: rule of thirds, centered symmetry, negative space
- Rendering style: photorealistic, cel-shaded, oil painting, vector flat
Furthermore, prompt order matters more than most people realize. Most diffusion models weight earlier tokens more heavily. Consequently, place your most important descriptors near the beginning — subject first, then style, then technical details, then mood. It’s a small habit that pays off every single time. A practical way to check your ordering: read your prompt aloud and ask whether the first sentence alone would give an artist enough to start sketching. If not, reorder until it does.
Iterative Refinement and Token Weighting Strategies
Here’s the thing: the best AI image generation prompt engineering techniques rely on iteration, not luck. Professional creators rarely nail a perfect image on the first try. Instead, they use systematic refinement — and there’s a real craft to it.
The subtraction method works surprisingly well. Start with an overly detailed prompt, then remove one element at a time. Watch how each removal changes the output. This reveals which tokens are actually doing the heavy lifting — and which ones are just noise. For example, you might discover that “cinematic lighting” is doing far more work than the five texture descriptors you agonized over. That knowledge compounds quickly.
Token weighting gives you precise control. In Stable Diffusion and tools built on it, parentheses increase emphasis. For example, (dramatic lighting:1.4) amplifies that concept by 40%. Double parentheses ((sharp focus)) boost weight even further. However, excessive weighting causes artifacts — I’ve generated some genuinely cursed images by pushing values too high. Keep values between 0.8 and 1.5 for best results. A useful mental model: think of weighting like adjusting a mixing board. Pushing one channel too far doesn’t just make that element louder — it distorts everything around it.
Negative prompts deserve equal attention. They tell the model what to avoid, and moreover, they’re often more powerful than positive instructions. Common negative prompt elements include:
blurry, out of focus, low quality, pixelatedextra fingers, deformed hands, anatomical errorswatermark, text, logo, signatureoversaturated, flat lighting, amateur
One practical tip: build a base negative prompt you paste into every generation, then add use-case-specific exclusions on top. For portrait work, that might mean adding "asymmetrical eyes, skin texture artifacts, plastic skin" to your standard list. For architecture, you’d swap in "distorted perspective, impossible geometry, floating elements." Maintaining a tiered negative prompt library — one universal layer, one category-specific layer — saves real time.
The A/B testing approach accelerates learning faster than anything else I’ve tried. Generate the same concept with two slightly different prompts, then compare results side by side. Notably, changing a single adjective can transform the entire composition. Document what works in a personal prompt library — seriously, start one today.
Additionally, Midjourney’s documentation recommends using --style and --stylize parameters for fine-tuning aesthetic intensity. Each model has its own syntax for weighting, so learn your specific tool’s language. Fair warning: the learning curve here is real, but it’s worth the investment.
Model-Specific Strategies for Major Platforms
Not all models respond to prompts the same way — not even close. AI image generation prompt engineering techniques must account for platform differences. What works beautifully in Midjourney might completely flop in DALL-E 3. I’ve tested dozens of these workflows, and this distinction trips people up constantly.
Here’s a comparison of how major platforms handle prompt interpretation:
| Feature | Midjourney v6+ | DALL-E 3 | Stable Diffusion XL | Adobe Firefly |
|---|---|---|---|---|
| Prompt style | Concise, poetic | Natural language, detailed | Technical, comma-separated | Conversational |
| Negative prompts | --no parameter |
Limited native support | Full negative prompt field | Content filters instead |
| Token weighting | Not directly supported | Not supported | (token:weight) syntax |
Not supported |
| Style control | --style, --stylize |
System prompt integration | LoRA models, embeddings | Style presets |
| Best for | Artistic, aesthetic work | Accurate text rendering | Customization, fine-tuning | Commercial-safe content |
| Max prompt length | ~350 words effective | ~4000 characters | ~75 tokens standard | ~500 characters |
Midjourney responds well to evocative, emotional language — almost like writing poetry rather than a spec sheet. Short prompts often outperform long ones here. Nevertheless, adding specific artist references and medium descriptions improves consistency significantly. Use --chaos values between 20–50 for creative exploration when you want the model to surprise you. A practical starting point: try --chaos 30 when you’re in early concepting and want variety, then drop it to --chaos 5 or lower once you’ve found a direction worth refining.
DALL-E 3 through ChatGPT excels with natural language descriptions. You can write full sentences explaining exactly what you want. It handles spatial relationships better than most competitors — if you need “a red mug to the left of a blue notebook, both on a wooden desk,” DALL-E 3 is your most reliable option. Importantly, it renders text within images more accurately than other models — which is genuinely useful and still kind of remarkable.
Stable Diffusion offers the deepest customization. Similarly to programming, it rewards precise technical syntax. You can load custom models (LoRAs), use ControlNet for pose guidance, and adjust sampling methods. The Civitai community hosts thousands of specialized models and prompt recipes — it’s a rabbit hole, but a productive one. The tradeoff is setup time: getting a Stable Diffusion workflow running properly takes longer than signing into Midjourney, but the ceiling for control is significantly higher once you’re there.
Adobe Firefly prioritizes commercially safe outputs. Trained on licensed content, it’s consequently the safest choice for business and marketing use cases. Bottom line: if you’re generating assets for a client campaign, this is probably your starting point.
Frameworks for Different Creative Use Cases

Generic prompting advice only gets you so far. Professionals use AI image generation prompt engineering techniques tailored to specific creative contexts. Each use case demands its own framework — and having one ready saves an enormous amount of time.
Product photography framework:
1. Name the product and its material or finish
2. Specify the background (white studio, lifestyle setting, gradient)
3. Define lighting setup (three-point, softbox, natural window light)
4. Add post-production style (high-end retouching, minimal editing, editorial)
5. Include camera details (macro lens, shallow depth of field, 85mm portrait)
Before: "A watch on a table"
After: "Luxury men's chronograph watch, brushed titanium case, placed on dark slate surface, three-point studio lighting with soft fill, shallow depth of field at f/2.8, high-end product photography, 4K, commercial quality"
The difference is night and day. The second prompt gives the model a complete creative brief — not a vague wish. If you’re working on a skincare product instead of a watch, swap in “frosted glass dropper bottle, matte white ceramic surface, single overhead softbox, clean minimalist editorial style” and the framework holds perfectly. The structure transfers; only the specifics change.
Concept art framework:
1. Describe the scene or character in narrative terms
2. Reference specific art movements or artists
3. Define the mood and atmosphere
4. Specify the medium (digital painting, gouache, ink wash)
5. Add environmental context (time of day, weather, era)
Before: "A fantasy castle"
After: "Ancient elven citadel carved into a mountainside, bioluminescent moss on stone walls, twilight sky with aurora borealis, matte painting style inspired by Craig Mullins, atmospheric perspective, epic scale, cinematic composition"
Illustration framework:
1. Character description with personality cues
2. Action or pose
3. Art style and medium
4. Color palette
5. Intended audience (children’s book, editorial, graphic novel)
Meanwhile, architectural visualization requires its own approach entirely. Focus on materials, proportions, environmental context, and rendering engine references like “Unreal Engine 5” or “V-Ray render.” Notably, those engine references alone can dramatically shift how realistic the output feels — one of those details that sounds minor but isn’t. For exterior renders, also include time of day and sky conditions: “overcast midday diffusion” produces very different results than “golden hour with long shadows,” even on the exact same building geometry.
Emerging Techniques: Prompt Chaining, Conditional Generation, and Beyond
The frontier of AI image generation prompt engineering techniques includes methods that go far beyond single-prompt generation. And this is where things get genuinely exciting — or overwhelming, depending on your tolerance for new tools.
Prompt chaining uses the output of one generation as input for the next. You generate a rough composition first, then refine specific elements in subsequent passes. ComfyUI makes this workflow visual and repeatable. Specifically, you can chain:
- Text-to-image → image-to-image refinement
- Low-resolution concept → upscaled detailed version
- Base composition → inpainting for specific regions
- Character sheet → consistent character in multiple scenes
A concrete example: start with a text-to-image pass that establishes your scene’s lighting and layout, then use image-to-image at 40–60% denoising strength to refine textures and details without losing the composition you already like. That denoising range is a useful default — go lower to preserve more of the original, higher to allow more creative drift.
Conditional generation lets you control outputs with additional inputs beyond text. ControlNet, for instance, accepts depth maps, edge detection images, pose skeletons, and segmentation maps. Therefore, you can maintain exact compositions while changing styles completely — which sounds simple until you realize how much control that actually gives you. A practical scenario: photograph a rough physical sketch with your phone, run it through edge detection, and use that as a ControlNet input. Your hand-drawn layout becomes the structural skeleton for a fully rendered digital image.
Multi-modal prompting combines text with reference images. Tools like Midjourney’s --sref (style reference) and --cref (character reference) lock visual consistency across generations. This is a major development for brand work and sequential storytelling — the real kicker is how much time it saves versus trying to describe a visual style in words.
Seed manipulation is another advanced technique worth understanding. By locking the random seed and changing only one prompt element, you can isolate exactly how each word affects the output. Alternatively, find a seed that produces great compositions and reuse it across variations. I’ve built entire visual systems this way.
Regional prompting assigns different descriptions to different areas of the canvas. You might want a “sunny meadow” on the left and a “dark forest” on the right. Tools like Automatic1111’s regional prompter extension make this possible. Single prompts simply can’t achieve the same complexity. The tradeoff is that regional prompting requires more setup time and occasional blending artifacts at region boundaries — worth it for complex scenes, overkill for simpler compositions.
Prompt scheduling changes the prompt at different denoising steps. Early steps define composition and structure, while later steps handle fine details and textures. Consequently, you can use an abstract prompt for layout and a detailed prompt for finishing — a technique that sounds technical but clicks fast once you try it.
Building Your Personal Prompt Engineering System
Knowing ai image generation prompt engineering techniques 2026 is one thing. Building a repeatable system you can actually lean on is another. Professionals don’t rely on memory — they build organized workflows. And honestly, this is the part most people skip.
Create a prompt template library. Organize templates by use case and include placeholders for variables you change frequently. For example:
[SUBJECT] in [SETTING], [LIGHTING_TYPE] lighting,
[ART_STYLE] style, [COLOR_PALETTE] palette,
[CAMERA_ANGLE], [MOOD] atmosphere, [QUALITY_TAGS]
Store these in a simple Notion database, a plain markdown file, or even a spreadsheet — the tool doesn’t matter. What matters is that you can find the right template in under thirty seconds when you’re mid-project and under deadline pressure.
Maintain a “what works” log. Every time you get an exceptional result, save the exact prompt, model, settings, and seed. Notably, patterns will emerge over time — you’ll discover your go-to modifiers and style combinations faster than you’d expect. This single habit has saved me more time than any other tool or trick I’ve found. After a few months, you’ll notice that certain lighting descriptors consistently outperform others for your specific use cases, and that knowledge becomes a genuine competitive edge.
Use prompt expansion tools wisely. AI-powered prompt enhancers can add helpful details, but they can also bloat your prompts with unnecessary tokens. Always review and trim expanded prompts. Keep only what genuinely improves the output.
Test systematically. Change one variable at a time. This approach, borrowed from scientific method principles, applies perfectly to prompt engineering. Document your findings and share them with your team. It sounds tedious, but the compounding knowledge is worth it.
Stay current with model updates. Each new model version changes how prompts are interpreted. Midjourney v6 responds differently than v5, and Stable Diffusion 3 handles text differently than SDXL. Subscribe to official changelogs and community forums — things move fast here.
Your system should also include quality control checkpoints:
- Does the image match the creative brief?
- Are there anatomical or structural errors?
- Is the style consistent with brand guidelines?
- Would this pass commercial licensing review?
- Does it need inpainting or post-processing?
Conclusion
AI image generation prompt engineering techniques keep evolving rapidly. However, the core principles remain stable: be specific, be systematic, and iterate relentlessly. I’ve watched this field shift dramatically over the past few years, and that foundation hasn’t changed once.
Start by mastering the fundamentals — subject clarity, style definition, and technical parameters. Then layer in advanced methods like token weighting, negative prompts, and prompt chaining. Build model-specific strategies for whatever platform you use most. Additionally, create frameworks tailored to your specific use cases, whether that’s product photography, concept art, or illustration. Similarly, don’t neglect the system-building side — it’s unglamorous, but it’s where consistency actually comes from.
Your actionable next steps are straightforward. First, pick one framework from this guide and apply it to your next project. Second, start a prompt log and document every successful generation. Third, experiment with one emerging technique — prompt chaining or regional prompting — this week. These AI image generation prompt engineering techniques aren’t theoretical. They’re practical tools you can use today to produce dramatically better results.
The gap between amateur and professional AI-generated imagery isn’t talent.
It’s technique.
FAQ
What’s the ideal prompt length for AI image generation?
It depends on the model. Midjourney performs best with 30–75 words. Stable Diffusion’s standard CLIP encoder processes roughly 75 tokens effectively, and DALL-E 3 handles longer, more conversational prompts well. Moreover, quality matters far more than quantity — a focused 20-word prompt often beats a rambling 200-word one. Specifically, front-load your most important descriptors and trim anything that doesn’t directly improve the output. When in doubt, cut it.
How do negative prompts actually work?
Negative prompts guide the model away from unwanted elements during the diffusion process. They do this by reducing the influence of specific concepts in the latent space. Furthermore, they’re especially useful for fixing common model weaknesses. Adding “blurry, deformed hands, extra fingers” to your negative prompt in Stable Diffusion, for instance, dramatically improves output quality. Not all platforms support them equally, though — DALL-E 3 handles exclusions through natural language instead. Skipping negative prompts entirely is one of the most common beginner mistakes I see.
Can I use artist names in AI image generation prompts?
Technically, many models recognize artist names and can replicate styles. Nevertheless, this raises significant ethical and legal questions. Some platforms like Adobe Firefly have removed artist name recognition entirely, while others still allow it. The U.S. Copyright Office has issued guidance stating AI-generated images generally aren’t copyrightable. Best practice in 2026 is to describe stylistic elements rather than naming living artists directly — it’s a better habit regardless of where the legal lines eventually land.
What are the best AI image generation prompt engineering techniques for photorealism?
Photorealism requires specific technical language. Include camera model references (Canon EOS R5, Sony A7R V), lens specifications (85mm f/1.4), and photography terms (bokeh, shallow depth of field, golden hour). Additionally, mention post-processing styles (Lightroom editorial, film grain, VSCO preset). Importantly, add quality modifiers like “RAW photo, 8K, ultra-detailed, natural skin texture.” Negative prompts should exclude “illustration, painting, cartoon, CGI, artificial.” It’s a reliable combination once you’ve tried it.
Keep reading
Here are the latest posts from the blog.

The NFT art platforms and blockchain creative tools 2026 features comparison looks almost unrecognizable compared to two years ago. Creators are dealing with a crowded, fast-…
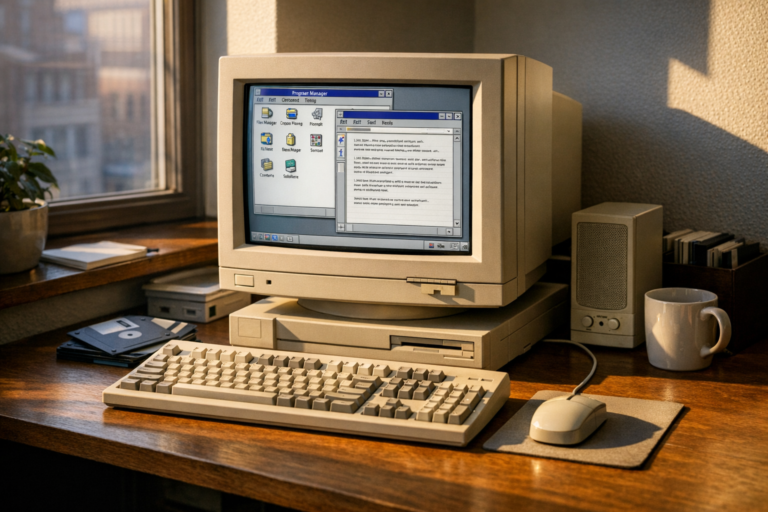
A Show HN remade my blog windows 31 post recently broke through the internet’s noise in a way most dev projects simply don’t. A developer rebuilt their entire blog as a funct…
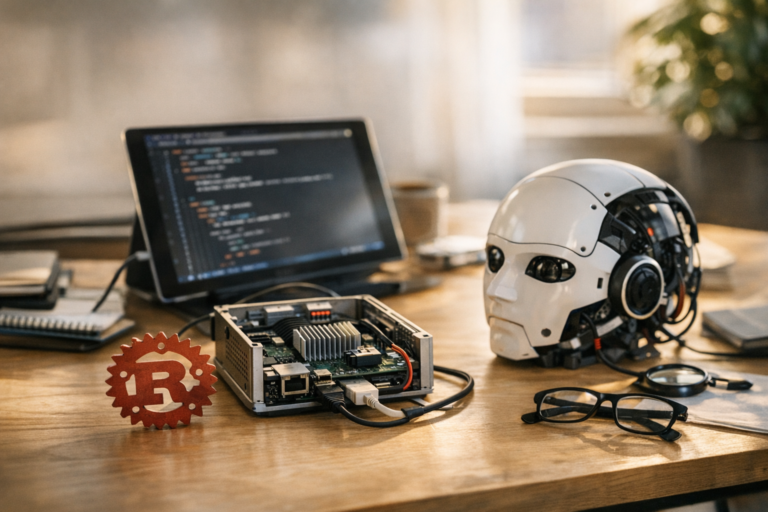
Building intelligent AI agents that interact with the web demands speed, safety, and reliability. A Rust Open-Source Headless Browser for AI Agents setup delivers exactly tha…